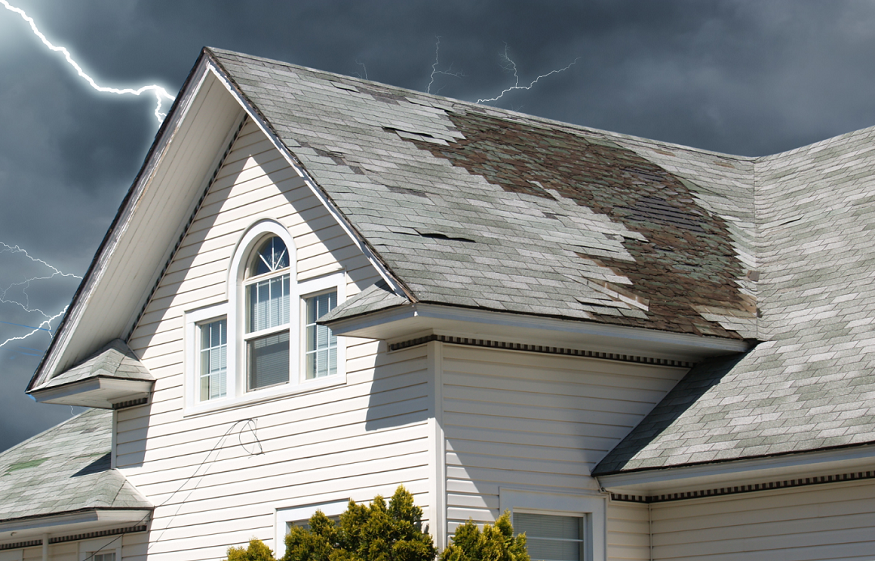
Whether you are a construction professional or an individual, in this article you will discover the 5 essential steps to repair your roof after a storm!
How to repair your roof after a storm?
Storms and bad weather are powerful natural phenomena that can leave devastating marks, particularly on our roofs. If you’ve experienced a severe storm recently, you know how much damage it can do to your home. As we experienced in France with the storm of 1999 and perhaps unfortunately soon with Storm Ciaran, bad weather can be very devastating for many homes. It’s no secret that one of the most vulnerable parts of your home is the roof, which acts as the ultimate shield against the elements. Howeer, the high winds, driving rain and hail that accompany storms can cause considerable damage.
In this article, you will discover the 5 essential steps to repair your roof after a storm. Whether you are a construction professional or an individual, understanding the steps to follow to repair your damaged roof isessential to guarantee the safety of your family and the preservation of your home.
Don’t wait any longer and discover now the 5 steps to follow after noticing damage to your roof following a storm.
For more information on the measures to take to protect your home before a storm, discover our previous article: How to protect your home before a storm? .
Step 1: Observation and assessment of damage
When the storm has calmed down and the situation allows you to do so without risk, the first instinct to have is to go around your house to identify possible damage to the roof. Secondly, climb onto your roof or call a roofing professional to carry out a careful inspection at height, so as to have an overall view of the damage. This step is crucial to understanding the extent of the damage and planning the necessary repairs .
Look for obvious signs of damage such as broken tiles or shingles, missing shingles, cracks, debris from tree branches or other objects. Be sure to examine or have examined all parts of the roof, including areas that are difficult to access.
During the inspection, also consider taking detailed photos of any damage you find. These images will be valuable when communicating with your insurance company and repair professionals.
Identify the most vulnerable areas of your roof. Connection points, roof joints and chimneys are areas commonly affected by storms.
Last point not to be neglected, checking the interior of your house. Indeed, observing signs of leaks, water damage or infiltration will also be big clues that can reveal the presence of damage to the roof .
Once you have completed the initial inspection, assess the severity of the damage. Minor damage can sometimes be repaired by an experienced DIYer, but for major damage, it is recommended to call a roofing professional.
Step 2: Secure the Area
After a severe storm, the area around your roof may be littered with potentially dangerous debris, ready to fall at any moment. Ensuring the safety of your family and the people living in your home is a top priority.
So, before you start inspecting your roof, make sure that the entire family and pets stay away from the damaged area. Protect them from the risk of falling tiles or shingles that may have been dislodged during the storm.
Arm yourself with sturdy protective gloves and start clearing away debris such as fallen tree branches, pieces of broken glass, or any other potentially dangerous objects. Use appropriate tools, such as pliers or a saw, to cut and remove branches that could threaten your safety. If you use a ladder, make sure that it is stable and does not rest on a weak area that could give way with the weight.
After clearing debris, carefully inspect your roof from the ground up for missing or damaged tiles or shingles. If you notice any parts of the roof that appear sagging or appear to have suffered major damage, it is crucial to call in a professional for a more thorough inspection.
If you identify missing or damaged tiles or shingles , be sure to secure these areas. You can use waterproof tarps or sheets to temporarily cover exposed areas and prevent water from entering your home. Secure them securely to prevent them from blowing away again in the event of subsequent strong winds.
To facilitate subsequent inspection by a professional, mark damaged or vulnerable areas on your roof with colored tape or flags. This will help repairers quickly identify areas requiring attention.
By securing the area around your roof after a storm, you will reduce the risk of injury and set the stage for more efficient repairs. However, remember that the roof repair itself must be carried out by experts in the field to ensure the safety and integrity of your home. If you do not have the required skills, call on professionals who will be able to repair your roof.
Step 3: Temporary repair
After assessing the damage to your roof, it is crucial to make temporary repairs to prevent the damage from getting worse while you wait for permanent repairs. Temporary repairs are essential to prevent water from further entering your home and to preserve the integrity of your roof while you wait for professional intervention.

Be First to Comment